How to install epson printer driver for Windows?
How to install the Epson printer driver? – After downloading the Epson driver file according to your printer model and computer operating system, perform the following steps to install the Epson driver so your printer can be used properly.
Driver installation steps for Epson printers
Open the driver file that you downloaded and saved on your computer’s memory
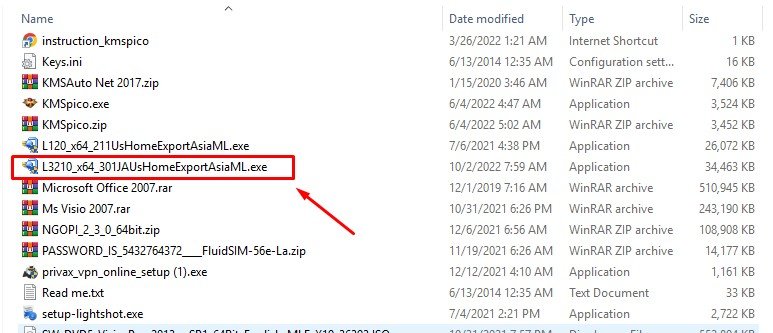
For example, I will install the printer driver for the Epson L3215 as shown in the following image.
Double click on the driver file to be installed
The next step is to double left-click the driver file you will install until the following screen appears.
- Epson printer number series
- Check if you want this printer becomes your default printer
- Check if you wish to automatically update your printer driver in the future
- Click OK on the button to go to the next step
Chose your language and Click Ok to the next step
Suppose you choose English. Click ok to continue.
Epson end-user software licence agreement
Read it if you want to read it and click agree and ok to continue.
Drivers are being installed
Currently, your Epson printer driver is being installed. Wait a few moments until the installation process is complete.
Connect your Epson printer
The last step is to connect the Epson printer to your computer. Connect the printer cable to the computer, turn on your computer and wait a while until the configuration is complete. This process is usually automatic. So you don’t have to do anything.
After the configuration process is complete, a notification will appear that your printer is ready for use.
If you just want to install the driver without connecting to the printer, then you can select the MANUAL button to configure the port manually.
Chose your Available ports and OK to continue.
Finish! Now you can use your Epson printer to print documents!


